APPLICATIONS: Automotive
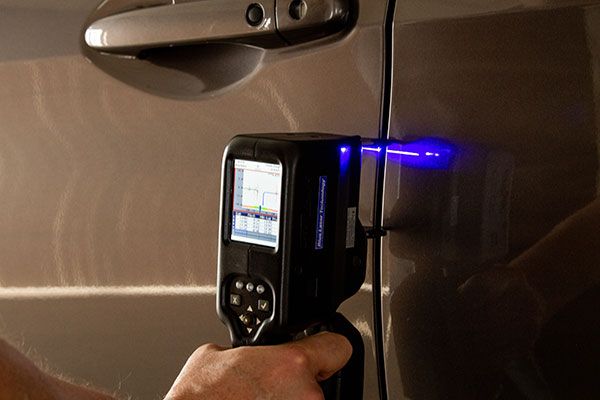
LaserGauge® supports automobile inspection applications from parts manufacturing all the way to final assembly.
The Challenge
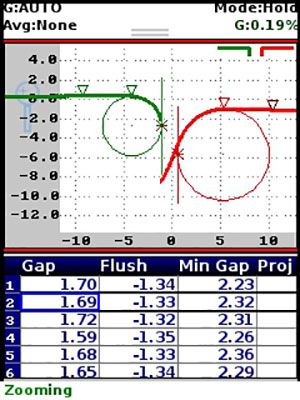
Today's vehicles are designed with flowing contours, angled panels, edges with large radii and closure seals in the gaps making consistent measurement of gap and flush features during the manufacturing process difficult. Also compounding the problem is measurement of translucent or transparent surfaces such as gaps around headlights, tail lights and windows. Traditional measurement devices struggle to measure gap and flush features accurately and consistently on such complex surfaces. LaserGauge® is a more modern and accurate approach.
LaserGauge® Sensors in Action
LaserGauge® captures precise measurements on the interior and/or exterior, around painted or unpainted body panels, translucent or transparent surfaces, taillights, UV windows, chrome, and more. LaserGauge® can be used with fitters downstream, utilizing a robot or hand-held sensor, on a moving assembly line or static station.
APPLICATIONS & RECOMMENDED SENSORS
Download Application Datasheets
Download How-To Guides
Recommended Sensors
HS702 or HS703 DSP sensors with Red Laser Single Stripe Technology
HS702 or HS703 DSP sensors with Blue Laser Single Stripe Technology
HS761 DSP Sensor with Red Laser Cross-Vector Technology
HS763 DSP Sensor with Blue Laser Cross-Vector Technology
Gap and Flush – Interior
Download Application Datasheet
Recommended Sensors
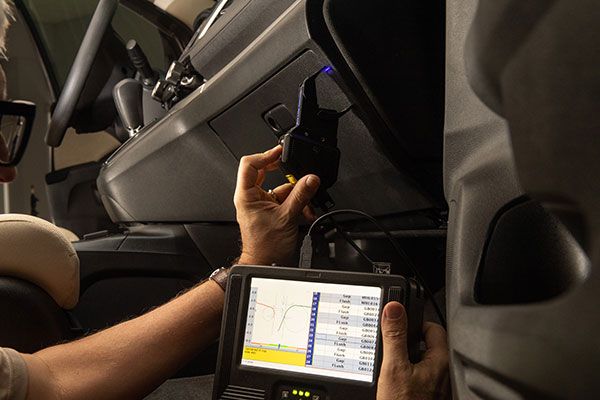
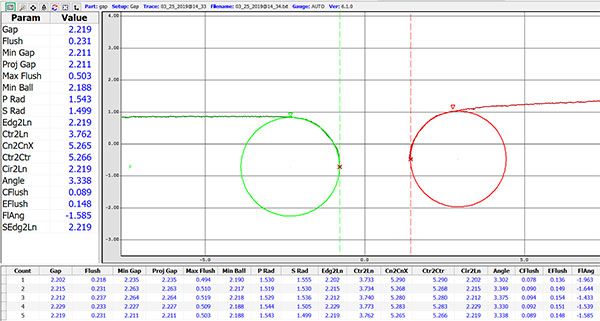
TS800 USB Sensor with Red or Blue Laser Single Stripe Technology
Optional LG7000 Controller
Seal Margins
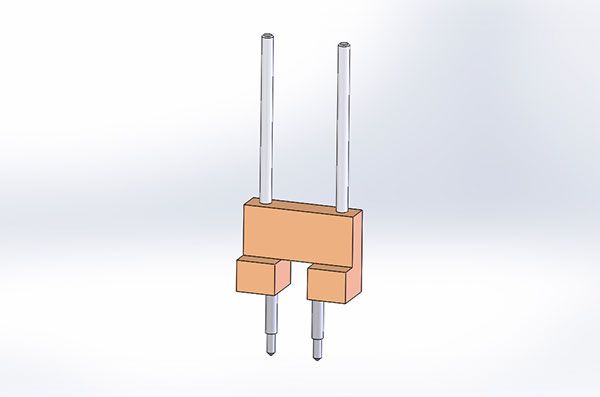

The HS702, HS703, or HS761 DSP sensor can be used, typically while the vehicle is body in white, with a separate Seal Block Margin standoff accessory and LGBasic gauge settings available on the sensor.
Recommended Sensors
HS702 or HS703 DSP sensors with Red Laser Single Stripe Technology
HS702 or HS703 DSP sensors with Blue Laser Single Stripe Technology
HS761 DSP Sensor with Red Laser Cross-Vector Technology
Rubber Bead
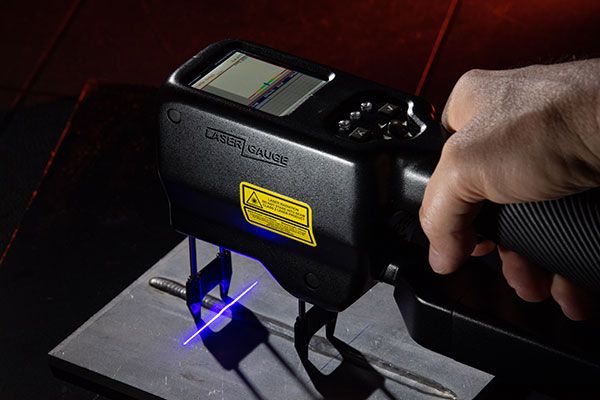
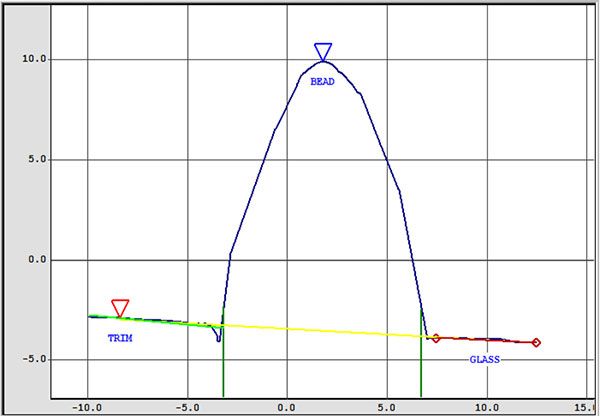
A LaserGauge® HS702 or HS703 DSP sensor with a 1.2" field-of-view is the best fit for this application because of its processing speed, light weight, and portability. Inspectors are able to make each measurement within a couple of seconds after sealant application while it is still hot. A separate straddle standoff accessory is necessary for this type of measurement.
Download Case Study
Recommended Sensors
HS702 or HS703 DSP sensors with Red Laser Single Stripe Technology
HS702 or HS703 DSP sensors with Blue Laser Single Stripe Technology
Laser Welds and Lap Welds
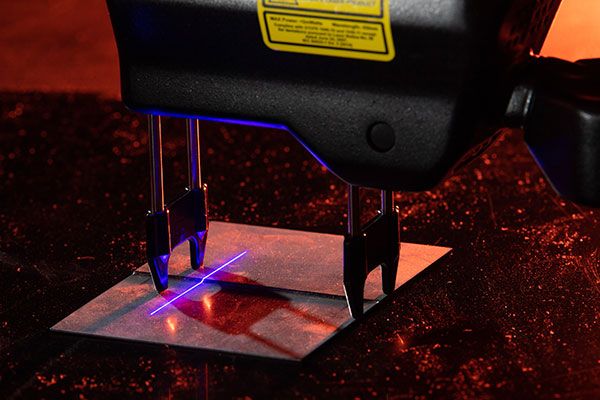

Sheet metal coils of different thickness are laser-welded together and cut into blanks. The blanks are used in stamping certain automotive parts. Using blanks that have variable thickness saves the cost and weight of the unneeded metal. Since the metal is subjected to a stamping process, the integrity of the weld is critical.
Inspection of the welds can be performed on a sampling basis after the welding process is complete. Inspection includes measuring the height difference of the two panels on either side of the weld and analyzing the profile of the weld for concavity and convexity. These measurements cannot be made with any mechanical tools and cannot be performed by operators visually.
A straddle standoff accessory is necessary for this type of measurement. This standoff comes standard with the TS800 sensor but is a separate accessory for the HS703 and HS703 sensors.
Download Application Datasheet
Recommended Sensors
HS702 or HS703 DSP sensors with Red or Blue Laser Single Stripe Technology
TS800 USB Sensor with Red or Blue Laser Single Stripe Technology
Optional LG7000 controller
Sheet Metal – Inside & Outside Corner Radius


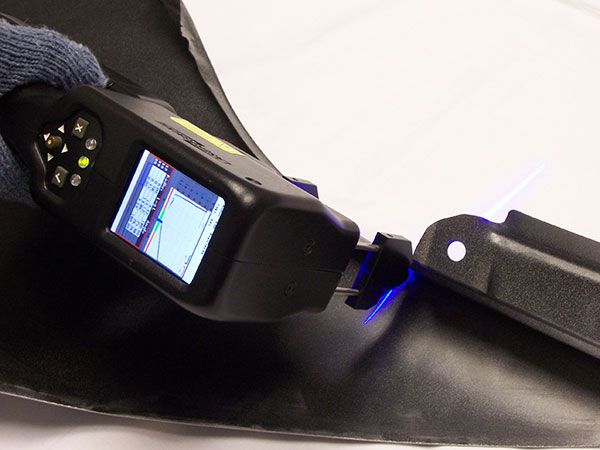
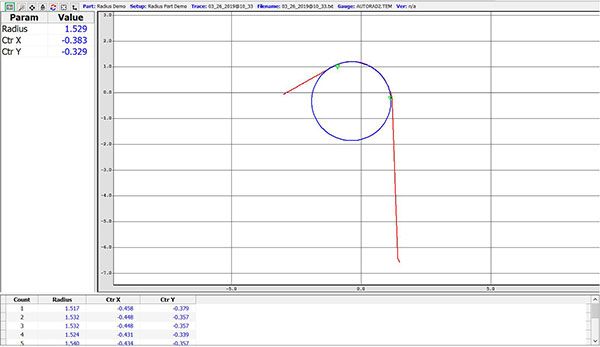
Automotive sheet metal parts must be stamped to exact dimensions for a vehicle to assemble properly. A radius stamped into the part and the location of the radius relative the part's edge, called the flange, must be precise for fit-up and aesthetic reasons.
Small inside radii are almost impossible to measure with mechanical radius gages. An inspector cannot always see the fit of the template gage against the sheet metal because of the design of the part. Measuring the length of the flange is equally difficult since the inspector cannot repeatably find the exact point that marks where the radius ends and the flange begins.
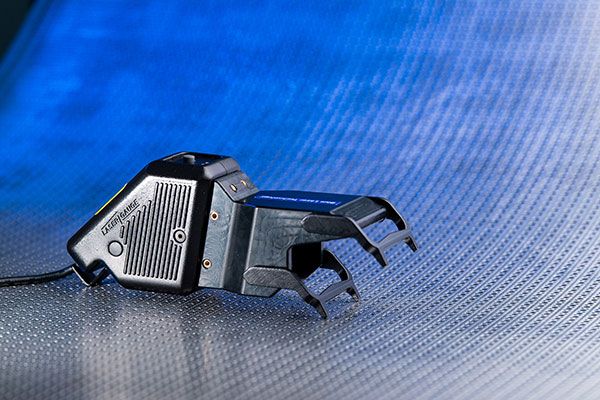
Also, over time, bending sheet metal thousands of times over jigs, presses or molds can wear down the sharpness of the edges, resulting in parts outside acceptable tolerances. Inspect the inside and outside radius of the bends and press edges for consistency of fit during assembly and get notifications when edges no longer meet requirements. For radius measurements, the TS800 comes with the proper radius standoff but is a separate accessory for the HS702 or HS703.
Download Application Datasheet
Recommended Sensors
HS702 or HS703 DSP sensors with Red or Blue Laser Single Stripe Technology
HS761 DSP Sensor with Red Laser Cross-Vector Technology
HS763 DSP Sensor with Blue Laser Cross-Vector Technology
TS800 USB Sensor with Red or Blue Laser Single Stripe Technology
Optional LG7000 controller
Sheet Metal – Flange Length / Radius

Recommended Sensors
HS702 or HS703 DSP sensors with Red or Blue Laser Single Stripe Technology
Sheet Metal - Feature Lines
Recommended Sensors
HS702 or HS703 DSP sensors with Red or Blue Laser Single Stripe Technology
TS800 USB Sensor with Red or Blue Laser Single Stripe Technology
Optional LG7000 controller
Sheet Metal – Roof to Door
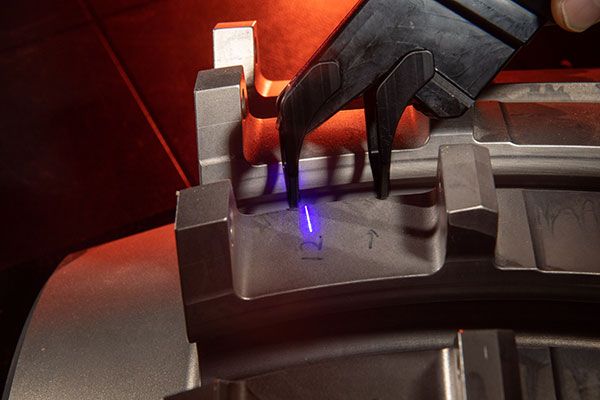

There is often a seal between the door and roof gap. LaserGauge® advanced algorithms allows for inspection of this type of gap. The TS800 comes with the proper straddle standoff but is a separate accessory for the HS702 or HS703.